
One of the lovely things about this house is that it has a nice big back deck to grill on. So we got a charcoal grill and I've been having some adventures with it. I love, love, love grilled food, and I'm not willing to wait till John feels like grilling. (Who made the rule that women don't grill? Given that it takes hours, it seems a job for the person who's here all the time.)
But I'll tell you, grilling is not as easy as it sounds. The first time I tried it, it took me about an hour to get the fire going. The venison backstrap I grilled was DELICIOUS, but it was quite a bit late for dinner. Since then, I've learned a lot of secrets that grilling recipes often don't mention. They say "build a medium-sized, indirect fire" and leave it at that!
So here's a few things I've figured out.
First, you have to build the fire some time before you need to start cooking. I can't tell you how long, because I don't know how tough a time you will have. This is one of the reasons why grilling is usually done at weekend picnics, when everyone has plenty of time and chips or something to nosh on while they wait -- it is impossible to say how long it's going to take, so mealtime could be anytime within a window of an hour or more.
You can't just light charcoal with a match, oh no. (Unless you shell out the extra for "match light" charcoal, which is a very good idea and probably worth it.) Otherwise, you need some kind of kindling or firestarter. Crushed-up paper doesn't work very well. Lighter fluid is better, but you need to really soak the coals with it. Best of all is probably starter cubes or sticks, which you put under your pyramid of coals. And you have to open up the vents at the bottom of the grill, or all your efforts will be in vain.
After a while, the middle of the heap will be glowing red, and there will be some white ash on the outside of the coals. It might not be in 15 minutes like it says on the package, but however long it takes, you have to wait till it reaches that point. Otherwise you might find yourself taking all the meat off the grill again to get at the fire and mess with it when you find it's not getting hot.
Once the coals are hot, you can spread them out a bit. If you want direct heat (for something you want to cook quickly) you can spread them out all over, but if you want a two-zone fire, you should stack them up on one side only so that the other side is cooler. Then all you have to do is oil your rack, put it on, and throw on the meat!

A whole spatchcocked chicken is challenging, though, maybe start with brats?
My favorite thing to do with meat for grilling is some kind of dry rub. I think cayenne goes really well with the smoky taste, but do whatever suits your fancy. It's important that the meat is entirely defrosted -- unless you're doing those super thin burger patties, in which case keeping them frozen keeps them from falling through the grate before they're cooked. While the meat is cooking, keep the lid on -- this keeps the food cooking on all sides instead of just charring on the bottom while the rest stays raw. Your temperature control is the air holes, both top and bottom -- less air restrains the fire for a cooler temperature, more air will make it hotter.
The one tool you absolutely cannot grill without is a meat thermometer. Otherwise you may find yourself serving out meat that's cold and rubbery in the middle. Or, like I did with this pork shoulder, drying it out because the recipe TOLD you four hours and it was done after three:
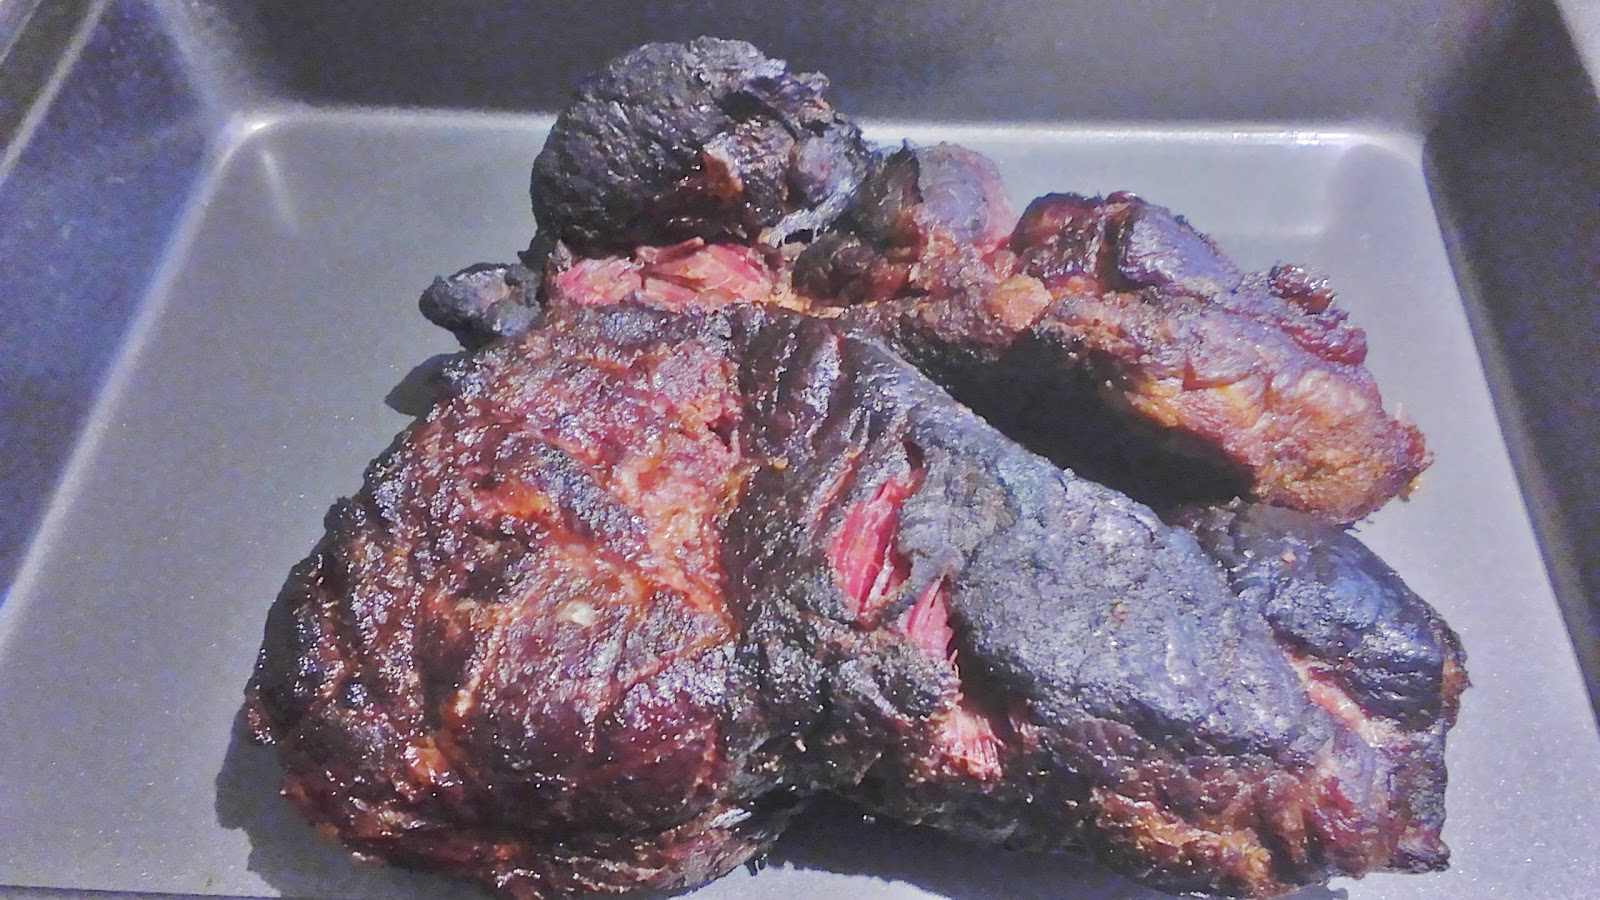
It was mostly still delicious, but a lot of the outside was charred. Take that temperature! Take it halfway through your expected cook time so you can see how fast it's cooking, take it a bit before you think it could possibly be finished, and keep taking it till you reach your target temperature. Your recipe will tell you that: 165 for chicken, a bit less for beef if you don't like it well done, 195 for pork that shreds.
I'm also not certain you can grill without tongs. In any event, when my kids wander off with them, I'll search however long it takes to find them before I grill. You can move the coals around with them as well as grab the food off the grill without either burning yourself or dropping it in the ashes.
After you've taken the meat off the grill, it has to rest, if it's whole meat. (Burgers and hot dogs will be fine either way.) You can take the opportunity to grill some veggies, like corn on the cob or peppers on a skewer or whatever you like. Eggplant and mushrooms are tasty grilled too. After 15-30 minutes the meat will have cooled down enough that it retains its juices better when it's cut, so go ahead and serve it up! The best part is getting compliments on the excellent seasoning when all you did was sprinkle it with salt. The smoke does the rest. I like to serve some sauce alongside, given that grilled meat can be a little dry on the outside, but it isn't obligatory.
Resist the urge to grill the entire meal, because grilled food is complemented by cool, fresh foods: green salad, three-bean salad with vinegar dressing, or maybe potato salad. I promised ages ago I'd share my potato salad recipe, so here it is. It's mutated a lot over time till it turned into a choose-your-own adventure.
Potato salad
Potatoes: boiled, completely cooled, peeled, and diced, in any order. I like to boil them whole, cool them, rub the skins off, and dice them up, but if you'd rather peel them first, dice, and boil, that's fine too. If you like your potatoes in firm, discrete chunks, you can add a tsp or two of vinegar to the boiling water. I like mine to mash up a bit, so I don't. Either way, boil them until just barely done, not falling apart. Or you can even microwave them! No one will know!
Dressing:
Good -- 50/50 mayo and sour cream, maybe with a dash of dijon mustard
Better -- ranch
Best -- homemade mayo
Here's how I make homemade mayo: I get a wide-mouth jar and put in an egg yolk, two tablespoons of lemon juice, a squirt of brown mustard, and some salt, pepper, and garlic powder. Then I put the immersion blender in there and slowly drizzle in a cup of olive oil. (Not extra-virgin, I hear that doesn't work -- regular olive oil.) If you have a different kind of blender, or if you wonder if some other kind of oil would work, I refer you to the information superhighway, because I don't know. I tried peanut oil once and the resulting mayo tasted like storebought, which in my mind is a total waste of effort.
Whatever you choose, don't add the dressing till the potatoes are completely cool.
Veggies -- add one or all:
Peas
Cucumber slices
Diced green peppers
Cooked asparagus tips
Add-ins -- any, all, or none, I'm not the food police:
Chives
Parsley
Dill
Chopped hard-boiled eggs
Dill pickles
Pickled beets (will turn the whole salad pink, BE WARNED)
Red onion, cut very small
I have experimented a lot with this potato salad and have never gone wrong yet. The only part that's difficult is making sure you start on time so the potatoes can cool down. An hour ahead is fine, but you can also do it the morning of a party, or the night before. It will still be delicious.
If you grill this summer, I wish you a quick-starting fire and meat that's crispy on the outside, fully cooked in the middle, and smoky throughout. Good luck!
